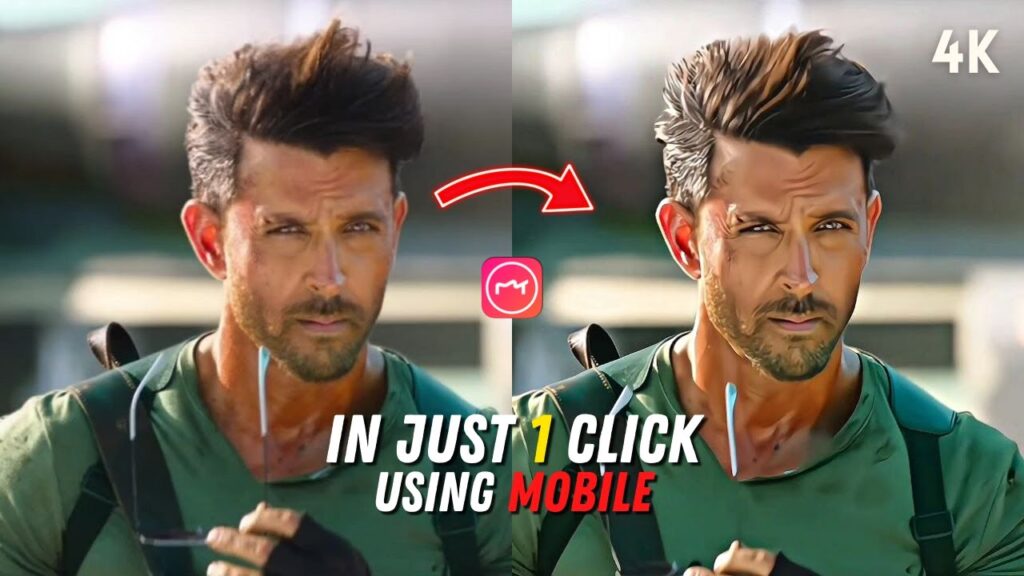
How to Enhance an Image to 8K Quality: A Complete Guide
In today’s digital world, 8K resolution (7680 × 4320 pixels) represents the pinnacle of ultra-high-definition (UHD) imagery, offering incredible sharpness, clarity, and detail. Whether you’re a photographer, digital artist, or simply someone who wants to upscale an image for large displays, enhancing an image to 8K quality requires careful steps to maintain — or even improve — the visual appeal.
In this guide, we will cover:
- Understanding image enhancement and upscaling
- Necessary tools and software
- Step-by-step techniques for 8K enhancement
- Tips to achieve professional results
- Common mistakes to avoid
1. Understanding Image Enhancement and Upscaling
Before diving in, it’s crucial to understand that enhancing an image to 8K doesn’t just mean enlarging it. True enhancement involves:
- Increasing resolution
- Improving details and textures
- Reducing artifacts (blurring, pixelation)
- Enhancing dynamic range (color, brightness, contrast)
Upscaling alone without enhancement often results in a blurry or artificial look. Therefore, modern methods use AI (Artificial Intelligence) and deep learning algorithms that predict and fill in missing details smartly.
2. Necessary Tools and Software
Depending on your skill level and the quality of the original image, you might need one or more of these tools:
Best AI-Powered Tools:
- Topaz Gigapixel AI – Industry leader for intelligent upscaling
- Adobe Photoshop (Super Resolution feature) – Classic tool with AI enhancements
- Let’s Enhance – Online AI upscaling tool
- Remini – Mobile app specializing in detail enhancement
- Upscale.media – Free, quick online tool
Professional Editing Software (for fine-tuning):
- Adobe Lightroom
- Capture One
- Affinity Photo
Hardware:
- A computer with a strong GPU (NVIDIA RTX series recommended) helps speed up AI processes
- Calibrated monitor for accurate color grading
3. Step-by-Step Techniques for Enhancing to 8K
Here’s a practical workflow:
Step 1: Start with the Best Available Source
- Always begin with the highest quality image you have.
- RAW files (.CR2, .NEF, .ARW) are better than JPEGs because they retain more detail.
Step 2: Preprocess the Image
- Denoise: Use a tool like Topaz Denoise AI or Lightroom’s noise reduction.
- Sharpen: Apply gentle sharpening to recover fine details.
- Color Correction: Fix any exposure, color cast, or contrast issues first.
Step 3: Upscale Using AI Tools
- Open your image in Topaz Gigapixel AI (or an alternative).
- Choose the desired upscale factor (4x is common for reaching 8K).
- Select the correct AI model:
- Standard: For general photos
- Art & CG: For drawings and computer-generated imagery
- Low Resolution: If the source image is tiny
- Very Compressed: If the image has heavy JPEG artifacts
- Preview the results and tweak the settings (e.g., suppress noise, enhance sharpness).
Step 4: Post-Upscaling Refinement
- Micro-Contrast: Boost micro-contrast carefully to emphasize small details.
- Texture Enhancement: In Photoshop, use High Pass filter to selectively add fine detail.
- Edge Clean-up: Fix any haloing around sharp edges with careful retouching.
Step 5: Final Output and Export
- Double-check the pixel dimensions: 7680 x 4320 for true 8K.
- Export in a lossless format like TIFF or maximum quality JPEG for best results.
4. Expert Tips for Professional 8K Enhancement
- Work Non-Destructively: Always use adjustment layers and smart objects.
- Zoom Out Regularly: Enhancing too much while zoomed in can make the image look fake.
- Balance Sharpness and Noise: Over-sharpened images can look unnatural.
- Batch Processing: If you have multiple images, use software that supports batch upscaling.
- Check Different Viewing Distances: An image meant for a billboard doesn’t need the same micro-details as one for close-up viewing.
5. Common Mistakes to Avoid
- Upscaling Garbage: If the source image is terrible, even AI can’t perform miracles. Garbage in = garbage out.
- Overprocessing: Avoid extreme sharpening, denoising, or saturation boosts that make the image look plastic.
- Ignoring Artifacts: Pay attention to areas where AI might create weird patterns (especially hair, grass, or small text).
- Skipping Manual Touch-Ups: Always do a final check and retouch manually where needed.
Bonus: 8K Enhancement Workflow (Infographic)
(I can create a visual workflow/infographic if you’d like — just ask!)
Conclusion
Enhancing an image to 8K quality isn’t just a matter of making it bigger — it’s about preserving and enriching details, fixing flaws, and optimizing the visual experience for an ultra-high-resolution display.
With the right combination of AI tools, editing skills, and artistic judgment, you can turn a modest image into a breathtaking 8K masterpiece that’s ready for the future of ultra-high-definition screens.
Would you also like me to include a detailed comparison of different AI upscalers or a step-by-step visual tutorial with images? 📸✨
Just let me know!